Over the past few years I've made my sisters Christmas cards or helped her and this year she wanted to make her own, but not having all the tools I've put together a kit for her so she just needs to stick the pieces on.
I brought 12.5 x 12.5cm card blanks from Card Blanks Direct for £4.95 with envelopes (for 50) and have come up with two different designs for her (with a little variation on each).
For the Snowman and Snowdog cards I used blue centura pearl card, embossed with the Sheena Douglas snowflake embossing folder that came with the most recent christmas Crafters Companions, Crafters Inspiration magazine, the Snowman and Snowdog die (from the magazine) cut out of Snow White centura pearl and coloured in with Spectrum Noirs, a stamp from the magazine, Christmas washi tape and ribbon from the Fantastic Ribbons Christmas bundle.
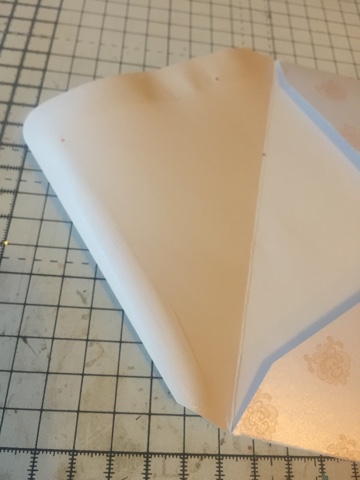
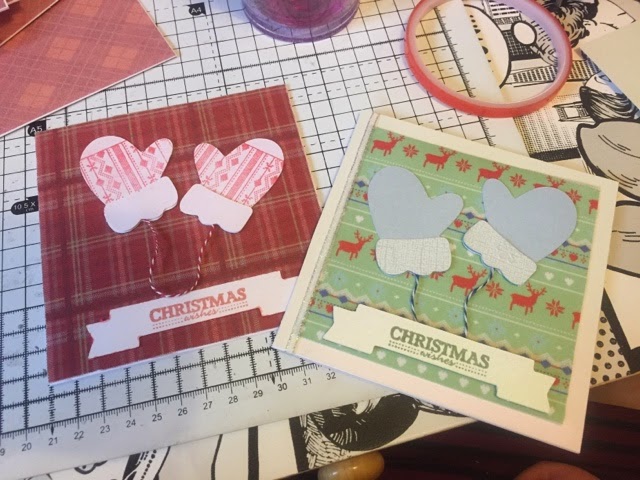
For the other card I've either used DoCrafts adhesive fabric or background papers from the CD that came with the Crafters Inspirations magazine printed onto Centura Pearl paper, bakers twine, mittens and banners cut from coloured and plain centura pearl card on my Cricut Mini using cut files from their subscription and knitted stamps from DoCrafts (which I stamped onto the white mittens)
The other backgrounds are shown below
It was hard not actually making the cards in full but I know Laura will love making these and I've even make some stickers for the back for her using these cut round labels from Label Zoo
So now all I need to do is await my Crafters Companion order of Collall all purpose glue and give that to my sister all boxed up with her card pieces and some foam squares!
Now to get a start on my cards!


